


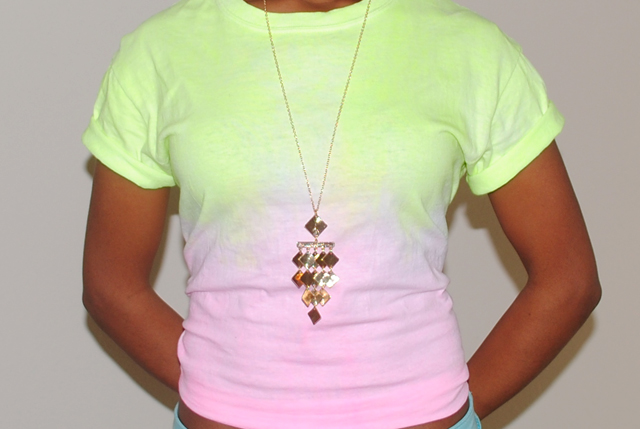
It all started by seeing this top on Urban:
You know what I love about the ombré trend? It brings back childhood memories of spending summers outside doing arts and crafts. I very clearly remember sitting in my parents’s driveway with a bucket full of dye and spinning an old shirt in it with a stick. The shirt didn’t come out how I wanted it to, but half the fun with DIY projects is the actual hands-on part. I tried my hand at the art of dyeing shirts again, and this time, I like how it came out.
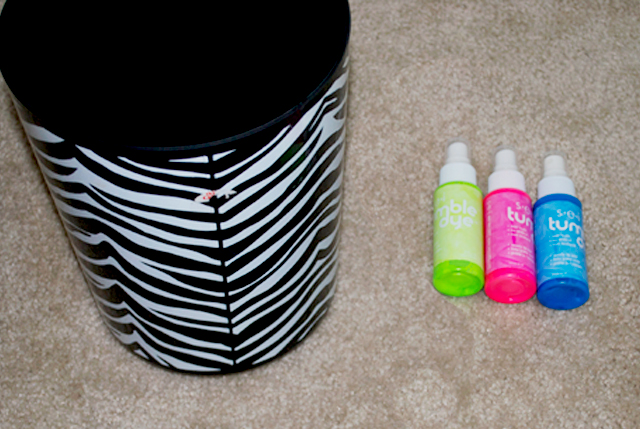
Making your own dip-dye or ombré t-shirt is easy and affordable, as it only requires a few supplies. After a trip to Hobby Lobby, I spent a total of $12 and had more than enough dye to DIY multiple articles of clothing (which I ended up doing while waiting on the original shirt to dry). Here are the tools you’ll need and the steps to do in order to get this look:
Supplies
- Fabric Dye – I used S-E-I’s Neon Tumble Dye Kit
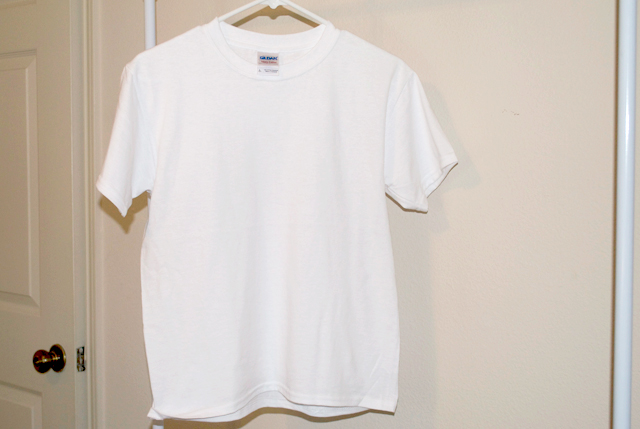
- Cotton T-Shirt –
- Bucket or Pail
- Trash Bag (optional)
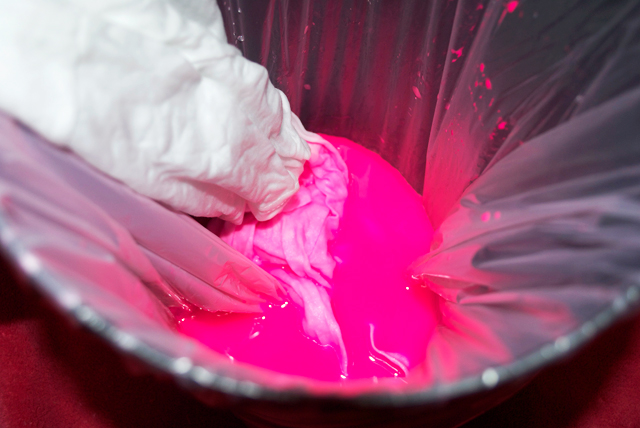
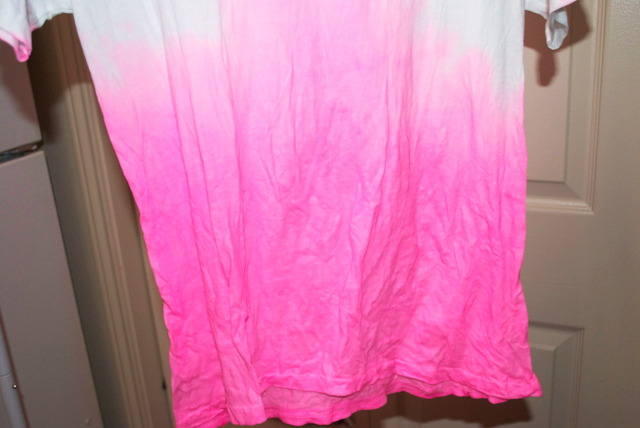
Step Two: Dip the bottom half of the t-shirt into the dye mixture. For an ombré effect, start with only the bottom fourth of the t-shirt in the mixture, then quickly dip the remaining portion of that half into the mixture. It’s optional to wet your shirt prior to dipping, so only do this if you want muted colors like I did, as your shirt won’t have as much color saturation as it would if the shirt were dry.
Step Three: Hang the shirt to dry. I didn’t let the shirt dry completely before dyeing the second color. Instead, I let it air dry for 45 minutes until it was 70% dry. While the shirt is drying, replace the trash bag in the bucket. If there’s a lot of dye left over, store it in an airtight container at room temperature for future use.
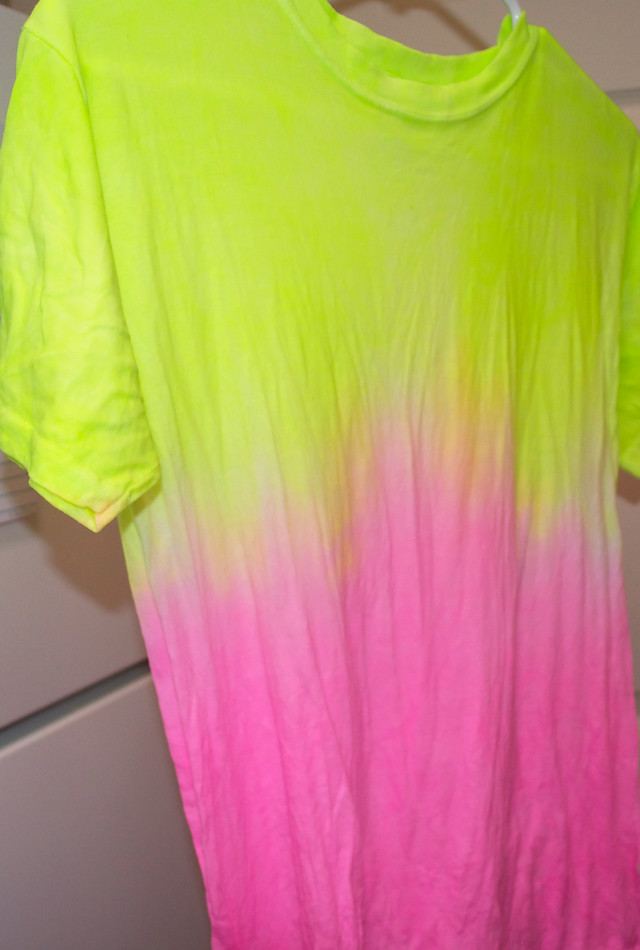
Step Four: Using your second color of choice, repeat steps 1-3 on the remaining half of the shirt. To avoid a lot of color overlap where the two colors meet, hold the shirt in the middle where the first color begins.
Step Five: Once the shirt is 60% dry, stick it in the dryer on medium heat for 15 minutes to get rid of the stiffness.


Thank you 🙂
is there any possible way I can make the shirt with the same colors but a bit darker?
Absolutely! I only used one fourth of the dye per bottle because I wanted mine to be very light. To make it darker, use more product and less water. The more water you use, the more diluted the color gets. Hope that helps! 🙂