One of the most common questions I get in relation to my blog is how I shoot and edit my photos. It felt appropriate to pull the curtain back a bit since taking more of my own photos is a personal goal for this year. Today, I’m sharing a peek into the things you should consider prior to taking your own outfit photos. Not all outfits are created equal, and it’s best to keep that in mind when you want a killer shoot.
There’s a give and take with deciding to shoot your own photos versus having a photographer assist, so try out both options! I fluctuate between the two and find they both have their own pros and cons. This is going to be a two-part post, so today we’re covering the things to consider leading up to the shoot. Also, I collaborated with Kyndall to record a behind the scenes vlog as we shot the pics featured in today’s post! Check her channel out as well to see what tips she shares!

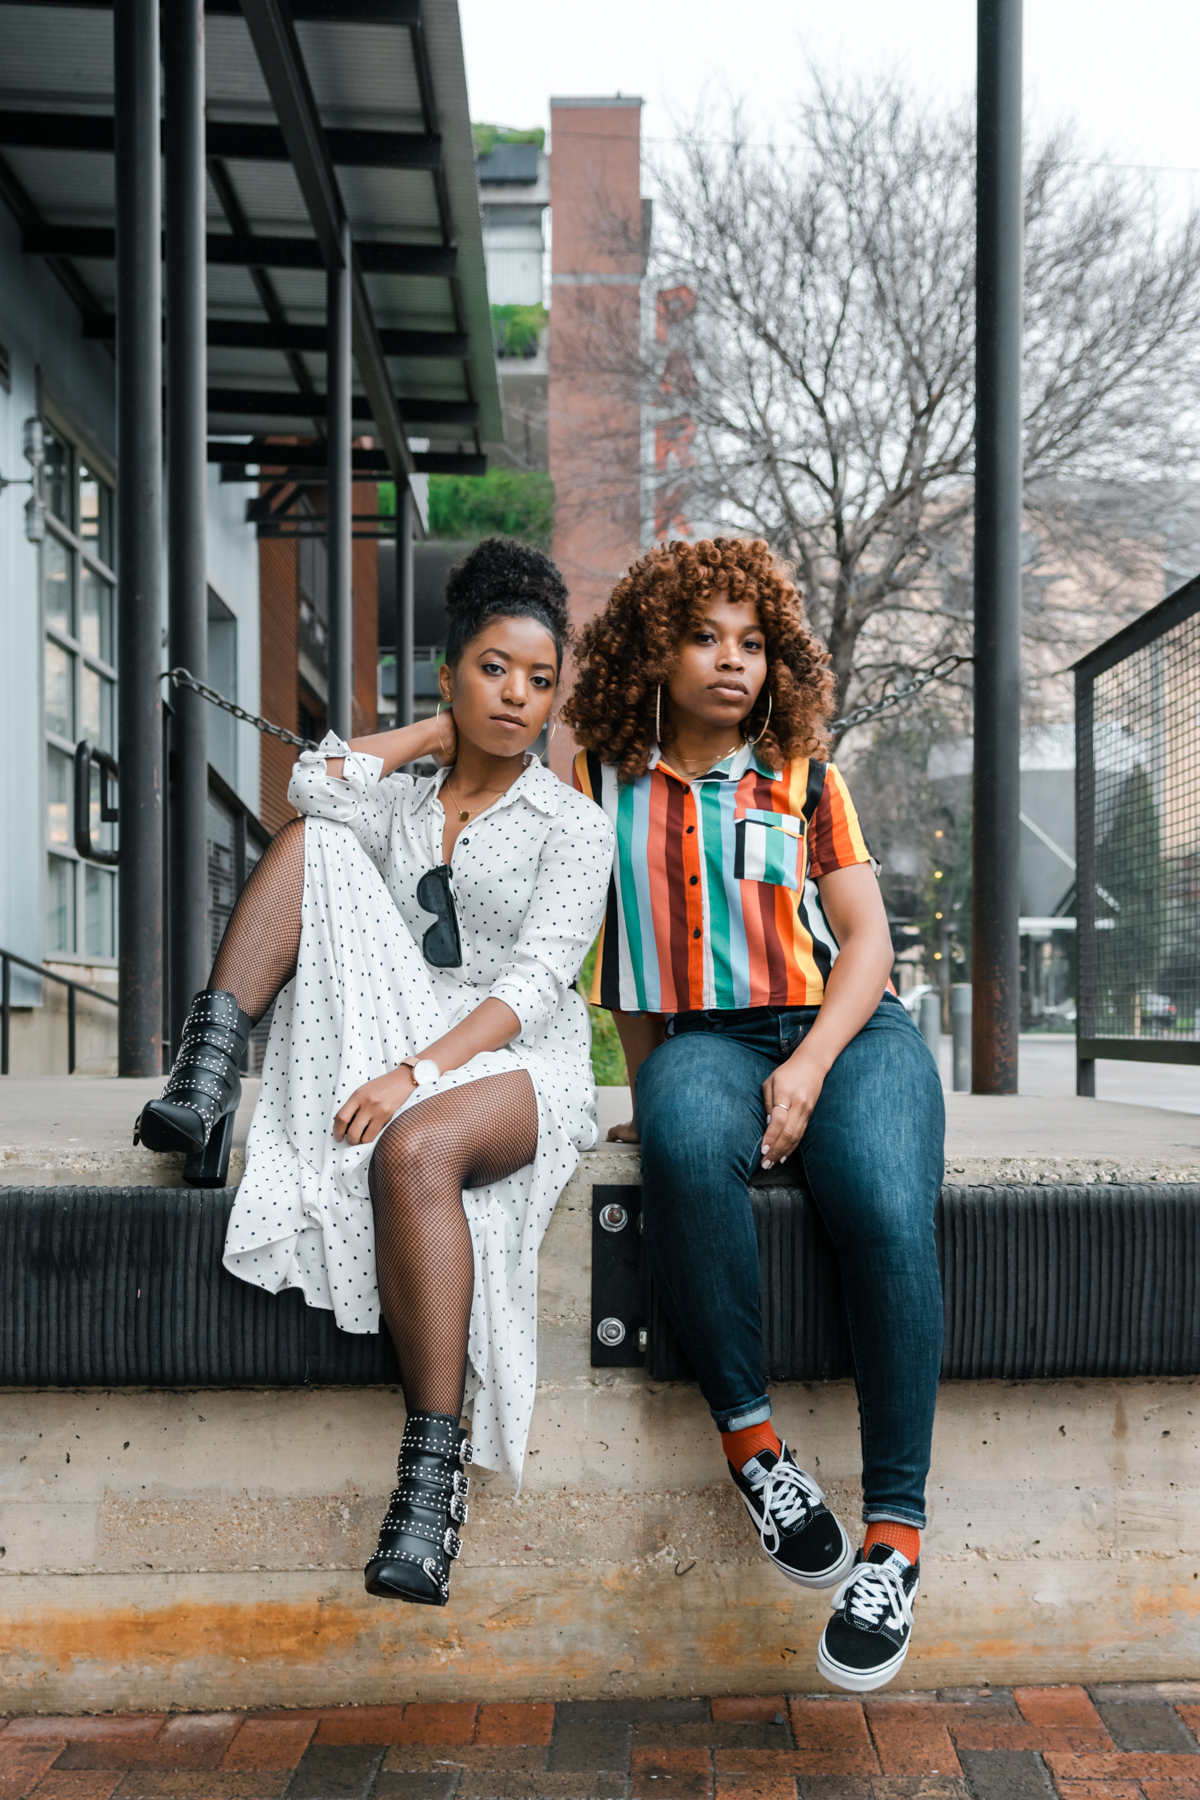
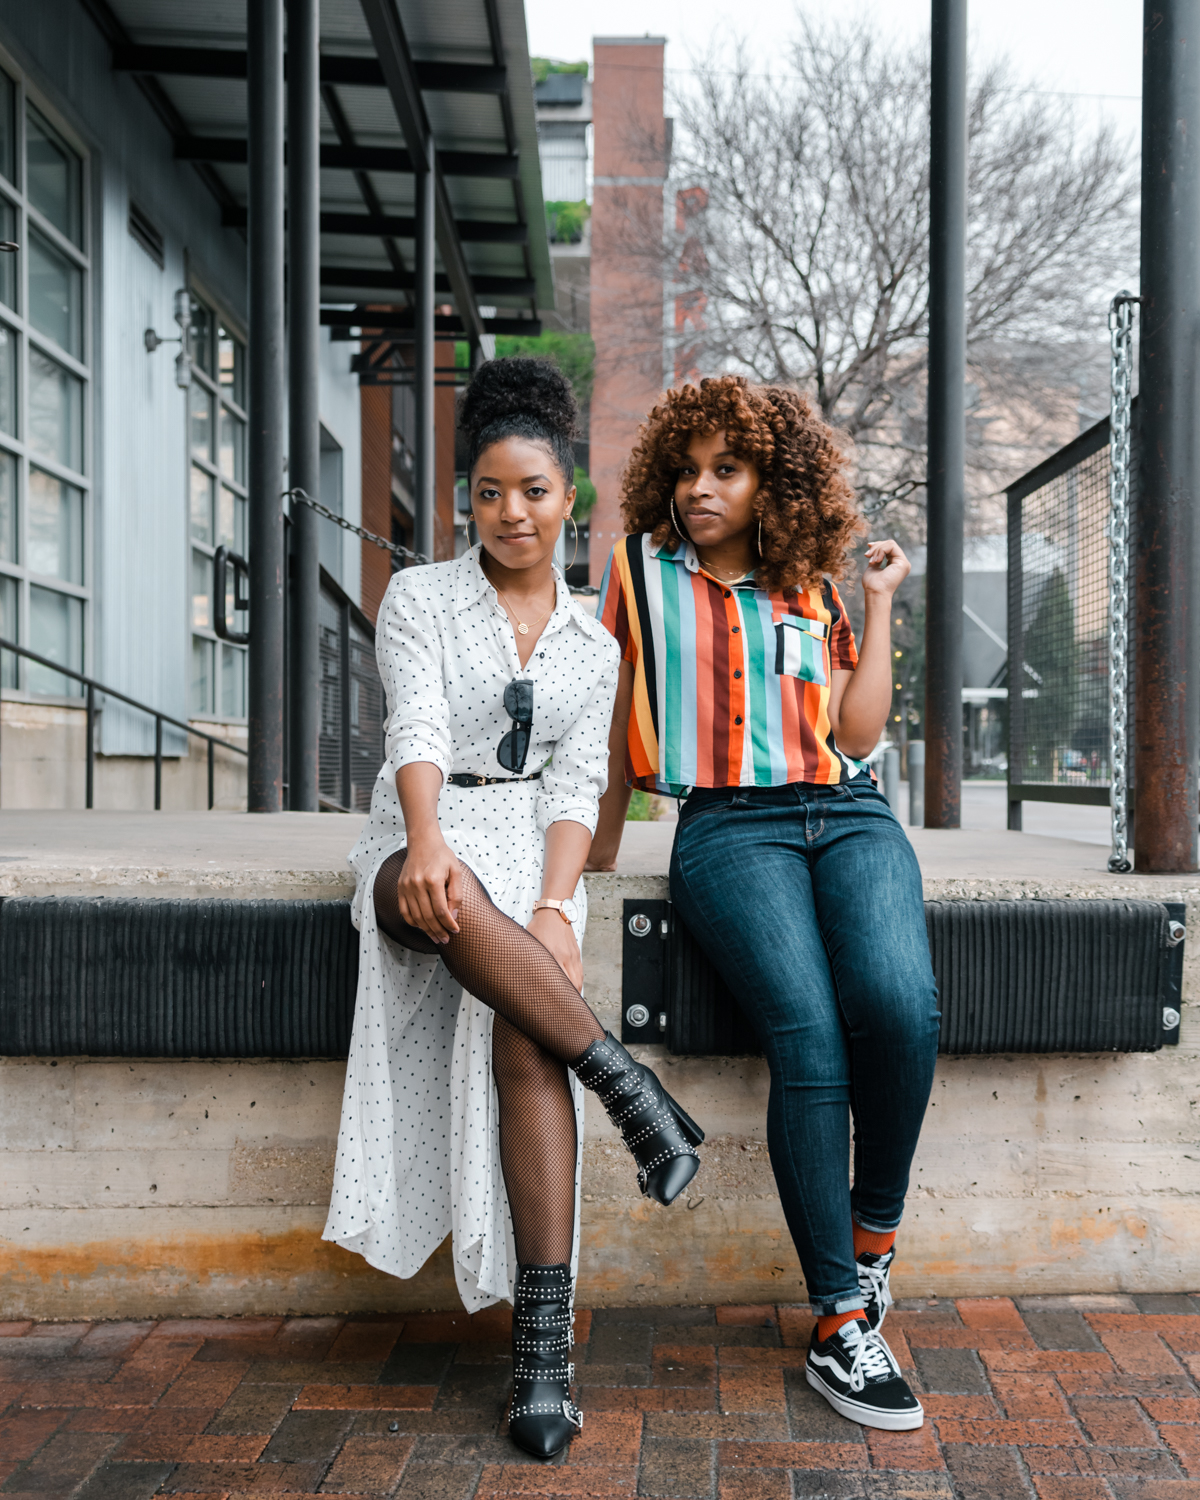
What I’m Wearing: Topshop dress | Target tights | Wild Diva boots (similar) | Prive Revaux sunglasses
How to Pick Outfits Ideal for Photos
When it comes to picking out your outfits, I firmly believe you’ll get better with time. Like anything else in life, finding the right outfit takes practice. One thing I’ve learned (and continue to learn) over the years of blogging is that all outfits are not created equal. An outfit that looks great in person doesn’t always translate well in photographs. It’s similar to seeing a product online versus in-person, or seeing it on the rack versus on your body.
While these aren’t hard and fast rules, they are a few tips and best practices I’ve learned over the years:
- Wear different textures or washes if your outfit is monochromatic. In person, a plain black tee paired with skinny black pants looks simple and smart. In pictures, you can level-up by adding a leather jacket or a fringe scarf. The extra texture creates depth and prevents the pieces of your outfit from bleeding into one another.
- When in doubt, mix prints. Contrasting prints truly pop on camera and complement each other really well. If you need help mixing prints, I shared a post that can get you started in the right direction.
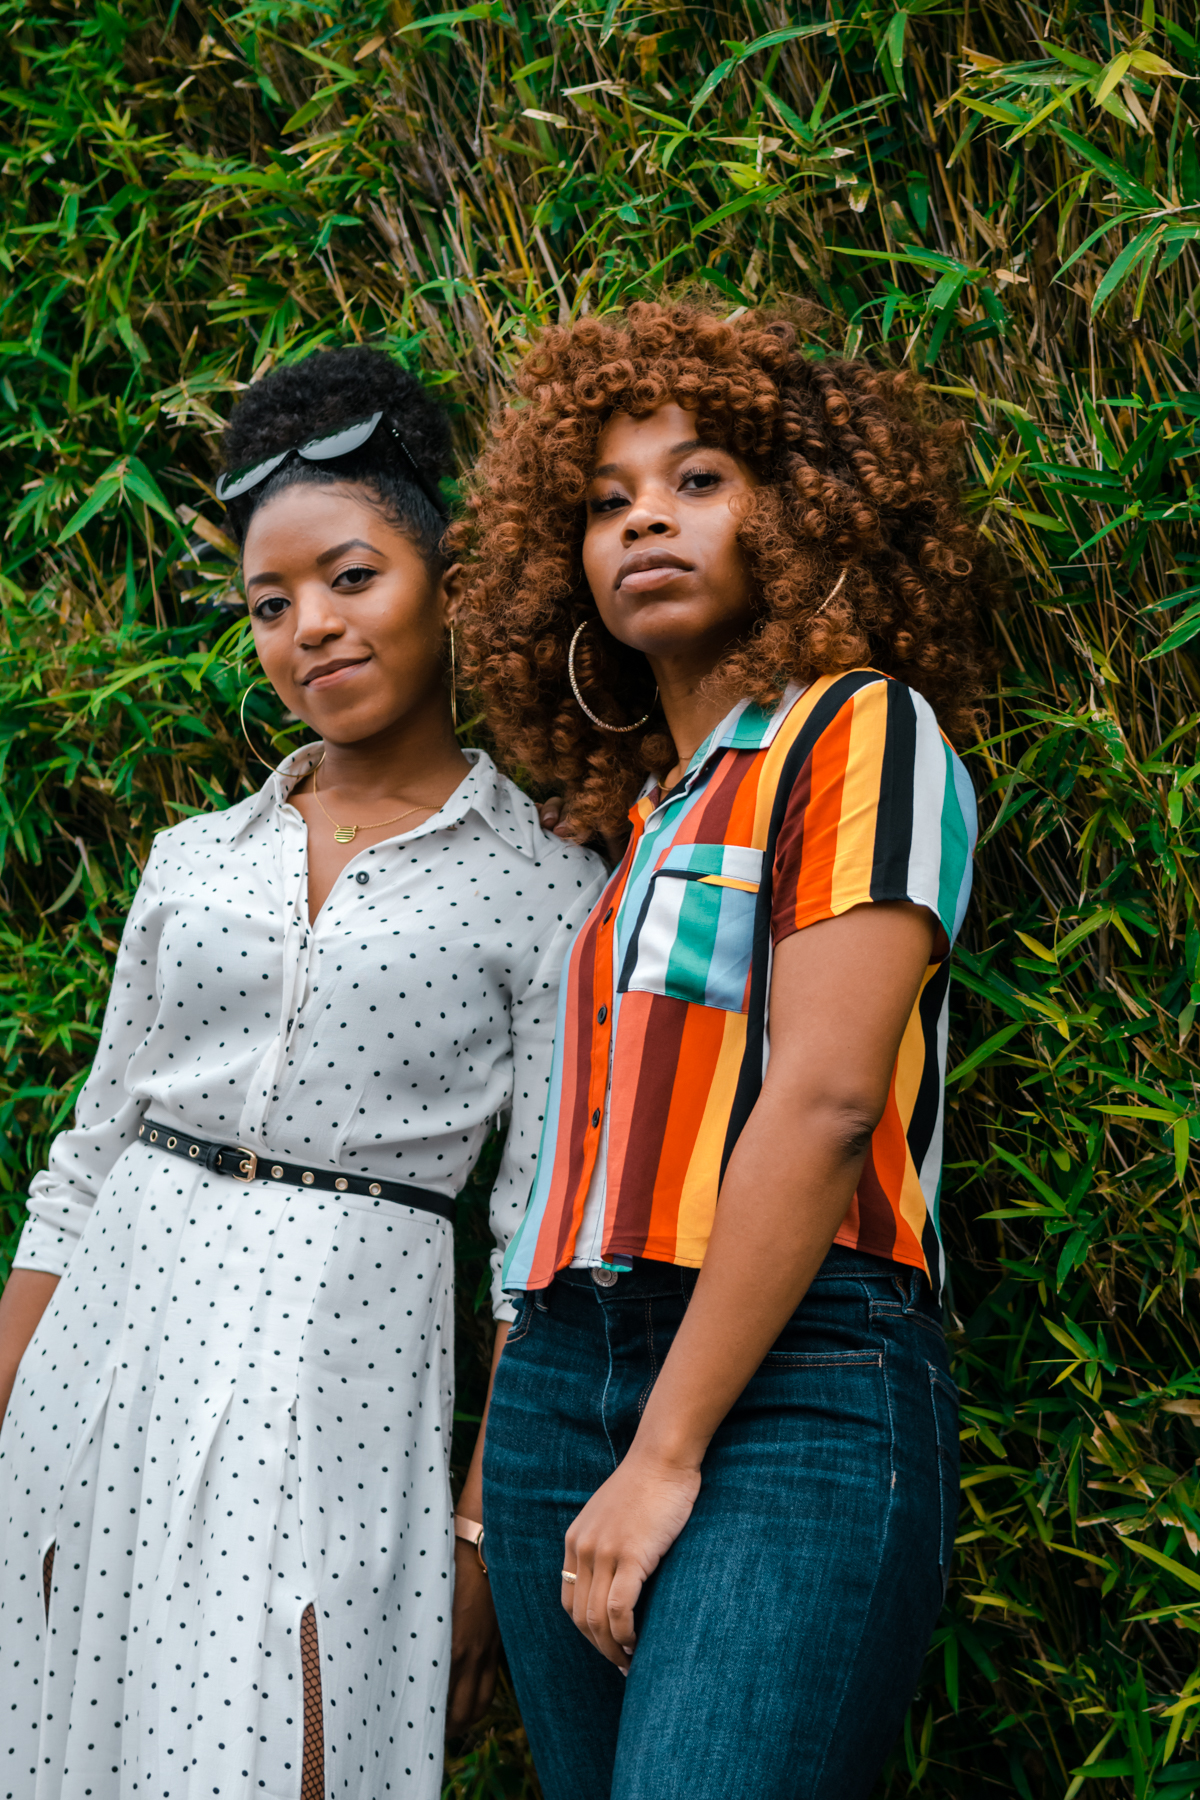
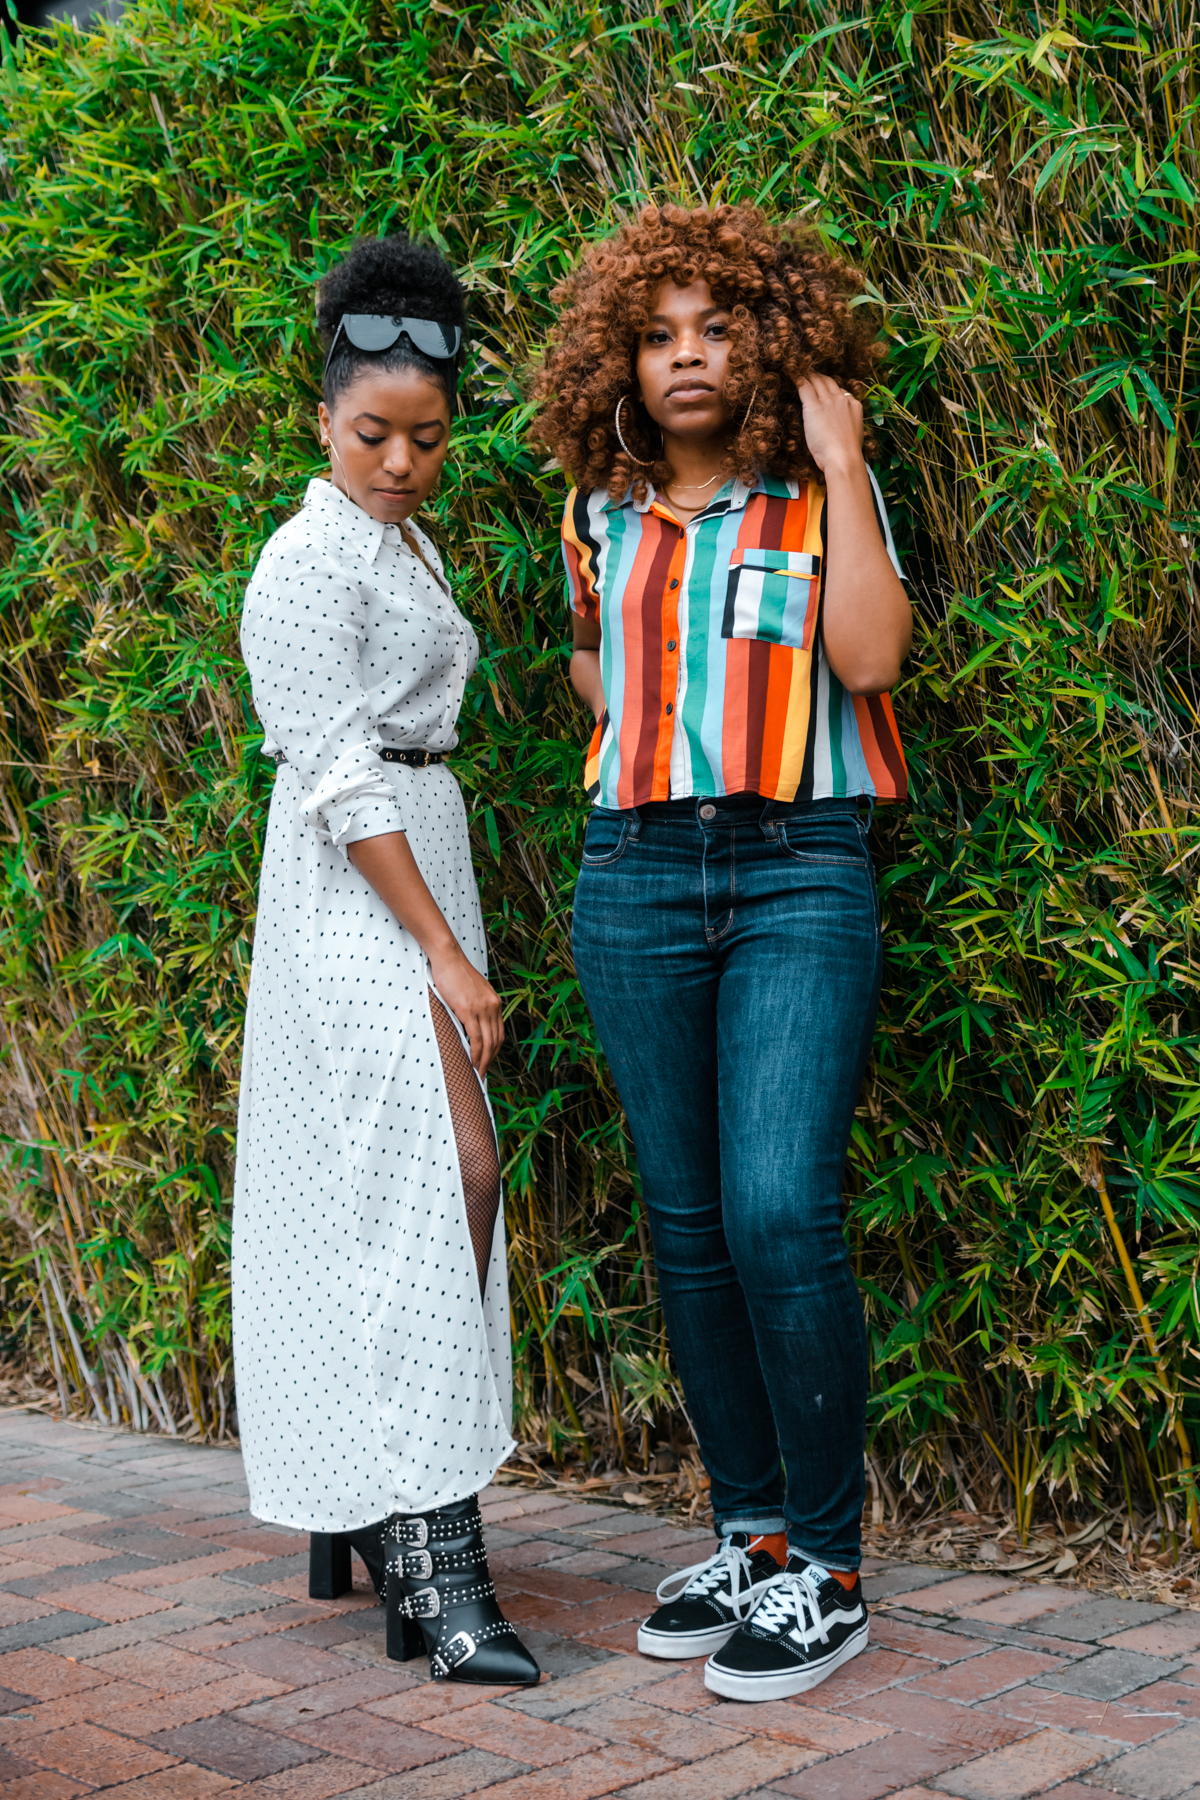
- Don’t hesitate to wear patterns. Even if you’re afraid to double up, you can add interest to your outfit by wearing a patterned top or printed bag. As you can see, Kyndall and I both took this approach by reaching for stripes and polka dots.
- Go bold! Bold, bright colors and deep, rich tones photography beautifully. Pastel shades are gorgeous in person, but they require a bit more post-production work because it’s easy for the saturation to drop in photographs.
Bottom line: An outfit styled for a shoot needs a little more flair. Even if you’re style is minimal, flair could be as simple as adding a delicate necklace or wearing a structured top. Just like makeup gurus have a “filming day” makeup routine that’s heavier than the “everyday look”, you want to have a few go-to pieces that level-up your outfit.

Things to Consider When Picking a Photoshoot Location
Admittedly, finding a location is my least favorite part of the photoshoot process. It can be challenging to find a location that you feel comfortable with and also isn’t a high-traffic area. When picking a location, here are some tips I’ve found helpful:
- Find a location that ideally matches your outfit. What message are you sending? Where are you wearing this look? Does the location’s color scheme add to or subtract from your outfit? While the goal is to showcase your outfit, think of the photo as a whole for optimal locations.
- Utilize Instagram! I follow all kinds of fashion, travel, and food accounts on Instagram because they are a great resource for finding new spots. Don’t hesitate to search your city on Instagram like Google!
- Pick a location with multiple backgrounds. This is especially important when you’re shooting your own pictures because naturally, the shoot will take longer to finish. It’s ideal to limit any driving to and from various locations, so finding an area that has diverse backgrounds will save you on travel time. Typically, outdoor plaza areas and downtown locations with parking garages will give you at least 3 options within walking distance.
Kyndall and I shot these photos all in a single location, but it appears as if we relocated because of the different backgrounds! The key is having an open mind and making ordinary things like a ledge or a bush the backdrop to your photos.

What to do the Night Before a Photoshoot
A few tips in this section actually apply to the shoot whether you’re doing it solo or meeting up with a photographer. I recommend doing this across a few days leading up to the shoot so you don’t forget anything, but it’s also achievable all in one day.
- Format your memory card and/or transfer old photos to a hard drive. This seems like an obvious thing to do, but you’d be surprised how often I would assume I had space on my memory card and then realize I can only capture 30 photos on location.
- Charge your camera’s battery! If you don’t have a backup battery, definitely pick one up! I have one for my vlog camera and will soon pick one up for my DSLR. This is crucial when shooting your outfit photos because you truly have no idea when you’re just getting started how long the shoot may take. You don’t want to finish until you feel like you have a few good shots, but a dead battery will definitely stop you in your tracks.
- Iron and hang your clothes in the order that you’re shooting. Wrinkles are inevitable when shooting on your own, but you can at least minimize how many appear by ironing and hanging up your clothes the night before. Sometimes I’ll pack everything in a suitcase for easy transport, but I find that hanging the clothes in my car keeps most of the wrinkles at bay.
- Go to sleep early (so you can wake up early)! Sunglasses are a life-saver when you don’t get enough sleep, but they don’t always fit the mood of your outfit. Also, showing your eyes in photos on occasion add a personal connection, as odd as that may seem. Get enough sleep the night before so you don’t have extra bags under your eyes and you appear well-rested in your photos.

I hope you enjoyed the first part of this post! In the second part, I’ll cover topics to think about when the shoot is in progress:
- Tools to Use
- Angles
- Confidence
In the meantime, watch how I shot these pictures with Kyndall in the video below!
ETA: Part Two is now published! Click here to keep reading more about how to shoot your own outfit pics!
This post was featured on IFB! Check out some of the other lovely posts included in the roundup:
Links à la Mode by Independent Fashion Bloggers
- Tips to Help You Plan and Shoot Your Own Outfit Photos
- Accessories: Are You A Maximalist Or A Minimalist?
- Style Talk: These Fashion Bloggers Describe Their Personal Style In A Three-Word Rule
- Style Wars: Sith Lord Chic
SPONSOR: Amazon’s Shopbop
Citizens of Humanity, FRAME Jeans, Ferragamo Pumps, THE VOLON, Tessora, Esteban Cortazar, Maxi Dresses, Metallic Bags, Classic Jewelry, Men’s Good News
FTC: This post contains affiliate links, meaning, I receive a small commission when purchases are made. Please show your support by shopping the site!

Comments +