


Am I the only one who likes to see these kind of posts or videos? It’s always interesting to see what people do to achieve their Instagram look. I get quite a few compliments on my photos, so I thought it would be a good idea to share the wealth. Truthfully, I really don’t do that much to my pics. In fact, I only use one app for editing and it takes maybe 2 minutes tops to achieve the look I’m going for. Find out below what my average photo-editing session looks like:
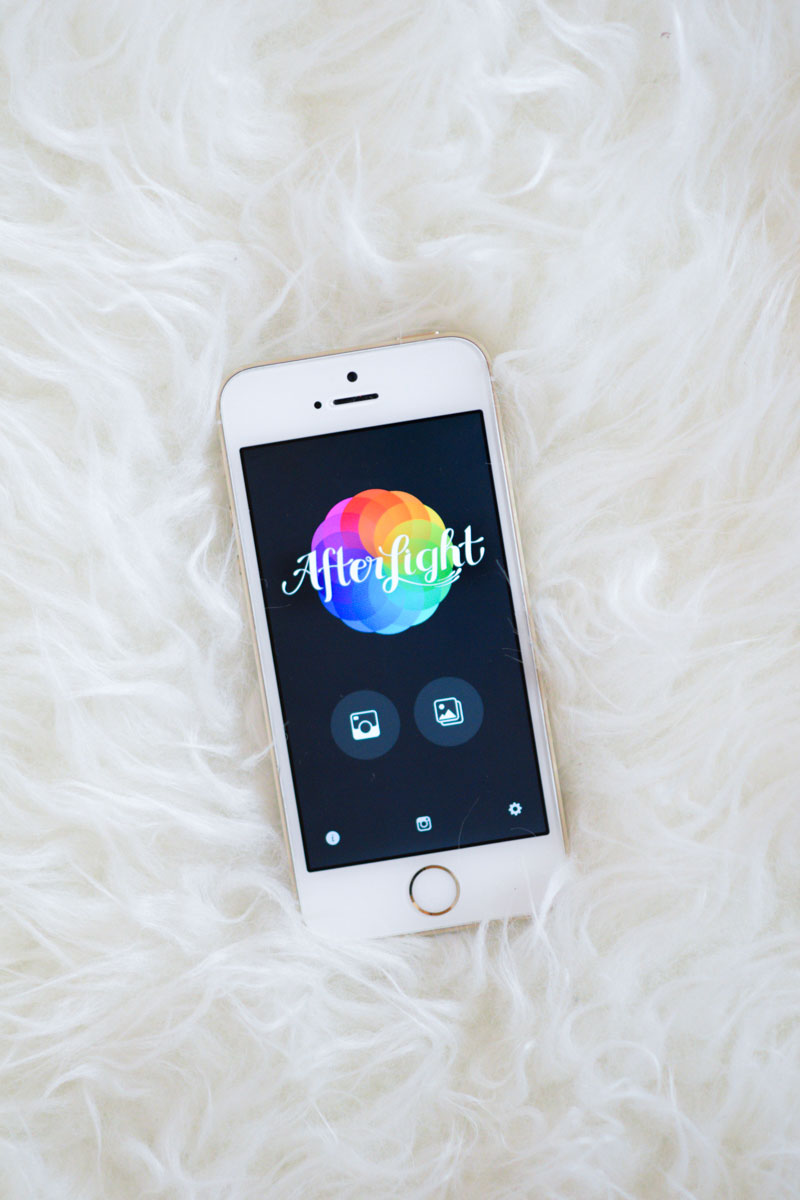
The App of Choice
There are a lot of apps on the market for editing photos. Of course, you can always use the options available within the Instagram app if you choose to do so. The app has a lot more options than it used to, but I’ve already grown used to using Afterlight. Afterlight is only $0.99 in the App store, and is available for both iOS and Android phones. I have Facetune, VSCO Cam, and SquareReady, but 98% of the time I’m using Afterlight. I find it to be the most user-friendly and has options that better suit what I’m looking for when it comes to editing a photo.
The Editing: Option One
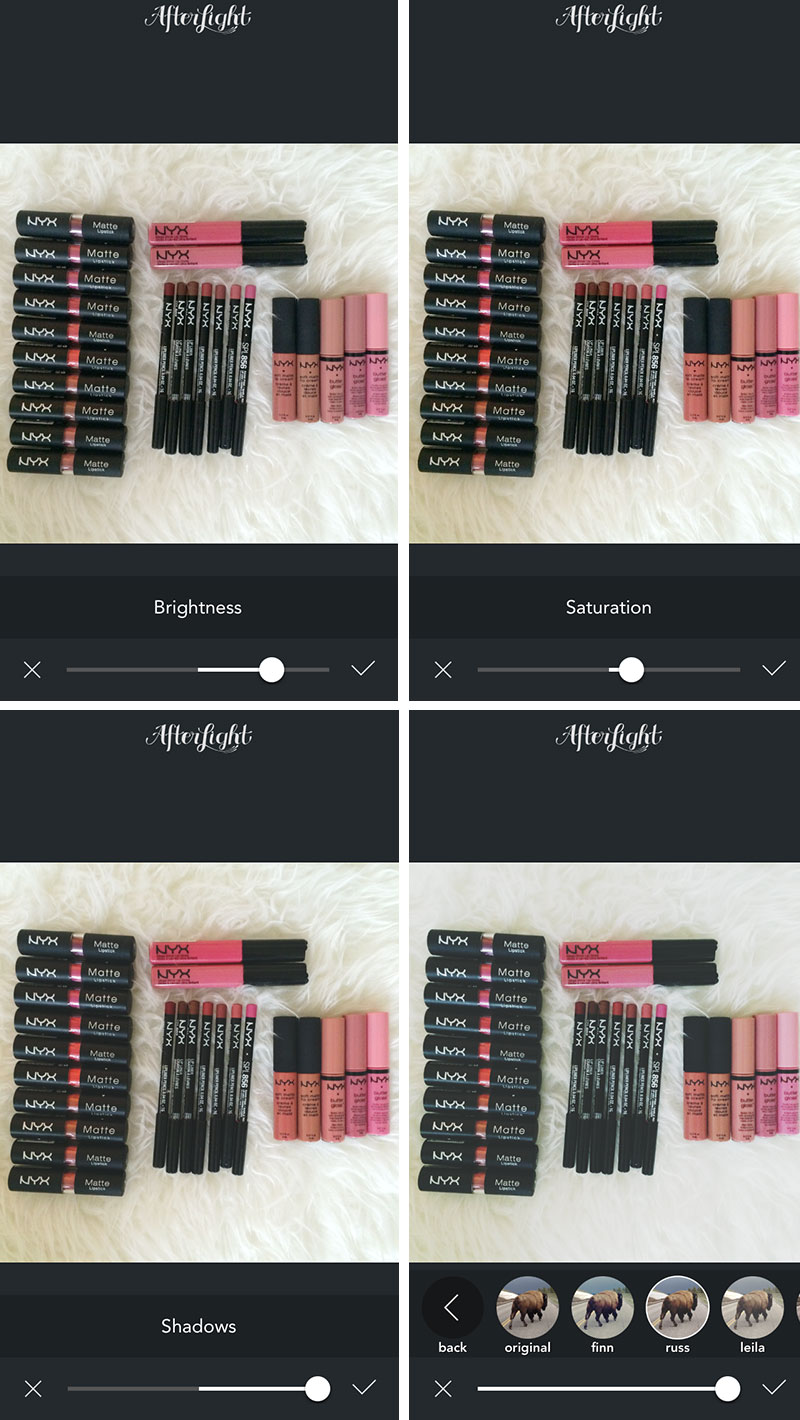
If you didn’t know, I have two Instagram accounts: my personal (@chelseytanisha) and the blog (@ventifashion). I used to have them combined into one because it was so much easier to have one account, but I actually prefer to keep the two separate. My personal photos oftentimes consist of food, fitness, or music related things, which I don’t think fit the blog. The blog’s Instagram is for my readers, so it focuses more on beauty things. My reasoning for explaining this is that I have slightly different habits for editing my photos, depending on which account they are for.
For my personal account, I like my photos to have a moody feel. The usual go-to edits are:
- Brightness – It may seem kind of odd to start by brightening a photo when I opt for a moody look, but I always brighten it just a little. It makes the whites a little whiter. Generally, I keep the brightness between 20 and 60.
- Temperature – Although I increased the saturation instead of adjusting the temperature for the photo above, this was an exception. Usually, I’ll cool down the photo so it matches the mood aesthetic. This option can turn too blue very quickly, so I stay between 0 and -20.
- Shadows – This is my favorite thing about Afterlight, and I use it for every single photo on my personal account. I always boost the shadows up to 100, because that’s what creates the look I’m going for even when I don’t apply a filter.
- Russ Filter – When I do apply a filter, it’s Russ. I’m not one to wander off into other filters because I like my photos to look cohesive. Russ is my absolute favorite. It mixes perfectly with the combination of increased shadows, finishing the picture to my liking. Most times I leave it at 100, but sometimes I’ll drop as low as 30.
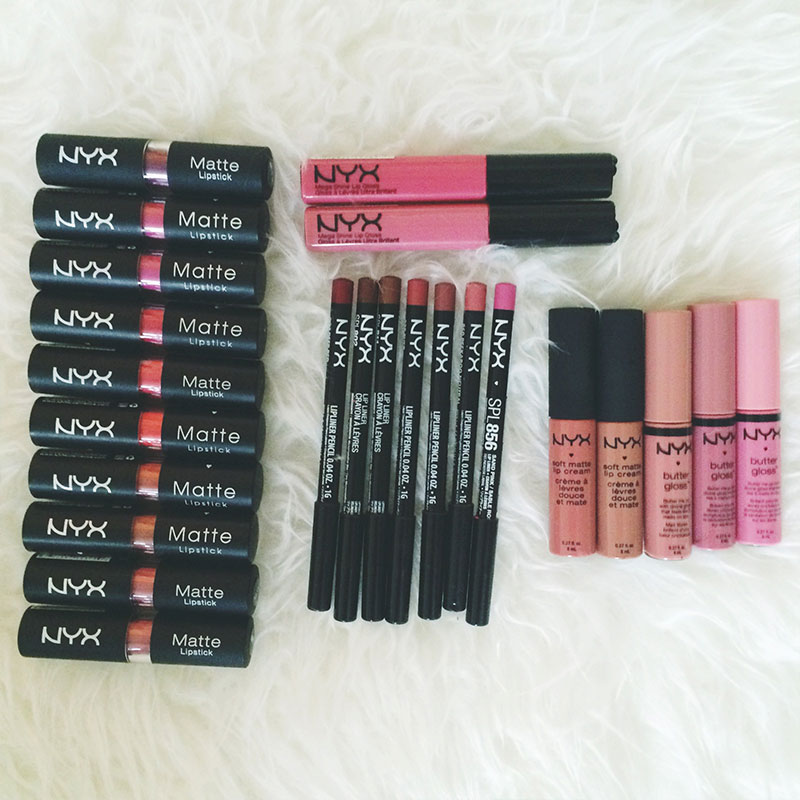
The Final Product
And this is the final product for what I would post on my personal account. I don’t like the photos to look super crisp and clean on my personal account, so I’v grown to love this hazy photo style.
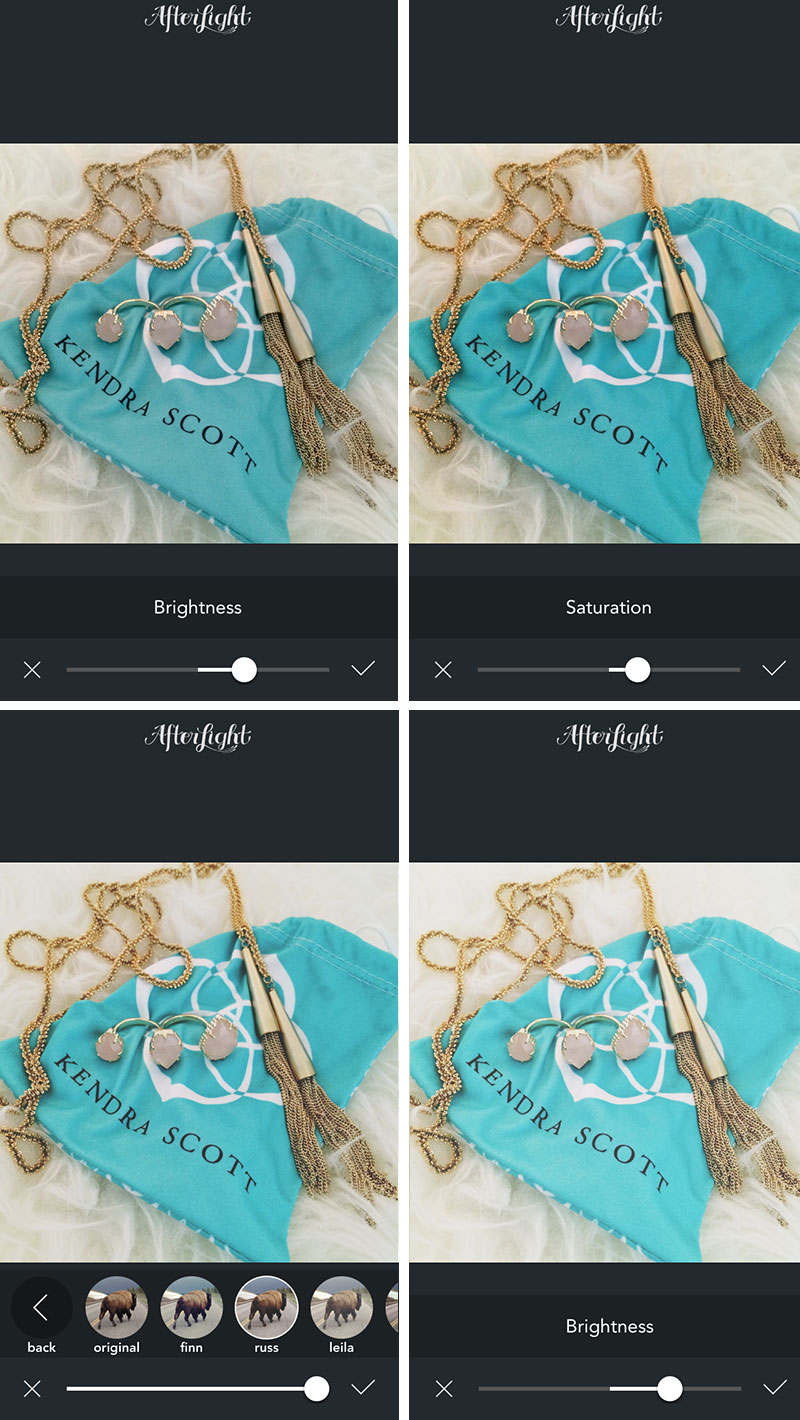 The Editing: Option Two
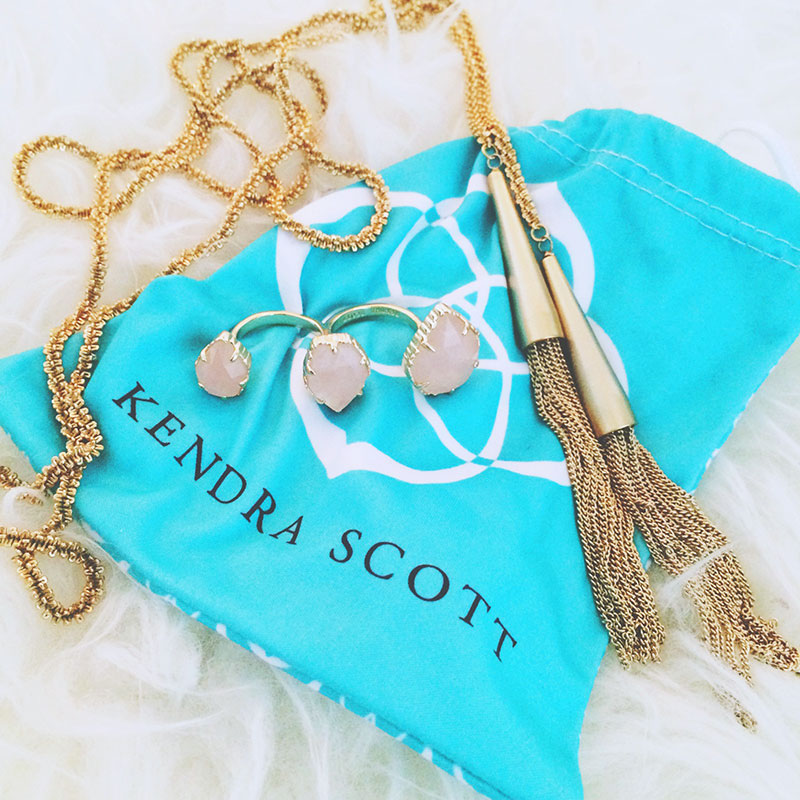
For the blog’s Instagram account, I generally edit photos to create a brightly saturated, clean picture. Very rarely I’ll use a filter, but as you can see from the steps above, it’s still Russ if I do use one. On average, my go-to edits are:
- Brightness – Because I like the photos bright, I start by adding brightness. I’ll usually keep the range between 0 and 30, because I also go back and end with more brightness.
- Saturation – With beauty photos, saturation can get lost in the lens. This option can get cartoonish very quickly, so I never boost the color higher than 30.
- Contrast – I don’t have a usual range for adjusting the contrast on the photo, but it’s always minuscule since this option can also get extreme pretty quickly. I didn’t use it for the photo pictured, but normally it assists with boosting the details and keeping the images sharp.
 The Final Product
And this is the final product for the blog’s Instagram: colorful but fairly clean.
If you don’t already have the Afterlight app, I suggest downloading it. There are a lot of options available within the app that makes it a one-stop shop–frames, filters, basic editing, texture overlays, etc.
You can also createa collage with various apps as well! Check out this article for tips on how to do this using Canva’s collage maker.


Comments +